
Disclaimer** This Blog contains affiliate links! Which means I may receive a small commission, at no cost to you, If you make a purchase through my link.Disclosure*

So a few months back, some of our family members got their cattle farm USDA certified and started wholesaling their beef. Of course when they told us that was their plan. We were super excited to have a great local source of homegrown beef. Plus we know for a fact they are raised humanely and well cared for. A few weeks later we purchased a quarter of a cow. Being of the homesteading type people we are, we don’t want to waste anything. Really that’s one of the biggest things in becoming self-sufficient. Waste not want not! When I was ordering our beef, I told them we wanted everything they would normally throw away. That being the fat and bones. I knew homemade beef tallow was the plan!
When looking for your beef fat to make tallow, you can purchase from any butcher. However make sure you know where it is coming from and that it is good clean fat. The best quality fat is going to be the “leaf fat” that is the fat from around the kidneys. But any beef fat will render into tallow and that is what I used.
When I got my beef fat it was this huge 10lb bag with pieces of fat as big as my hand. I thought oh boy now what! I knew you could make beef tallow from this but I had never done it before. I also had NO room in my freezer for that, so it had to be something I dealt with now!
So I set out to learn the best way to render this boy down. If you have a crock pot, that in my opinion is the best way. Simply because you can set it and forget it. I love my crock pot but at this time I did not have one. Mine had kicked the bucket and I was trying to find one on sale. This resulted in me having to use my stove top, which still worked great. I just had to keep an eye on it.
Make sure you are using a heavy bottom pot if you are using a stove top. I used one of our cast iron dutch ovens. Either way you decide to render down your fat. You will need to cut your fat into smaller pieces, about 1 inch pieces will be good. It doesn’t matter how you cut them up really. But the smaller the size the faster it will render.
If using the stove top method put your small fat pieces in your pot, turn the stove on a low to medium setting and walk away. Don’t walk to far! You do need to stir it every so often and make sure you don’t have it to high. You don’t want the fat pieces to be frying in their own rendered fat and start popping. This still is a type of grease and could start a grease fire. Low and slow is the game here.
Another reason a crock pot would be easier. You simply fill the crock pot with your cut up fat and go to bed. After about 12 hours in a crock pot on low it should be done. No matter which way you render, you will know its done when the fat pieces are now burnt giblets.
They should be dark brown and very crispy. Don’t eat them after you have rendered them. They are not cracklings! I mean you could eat them if you wanted to but they are not good. Ask me how I know, ( yes I tried one).
Now you have this big pot of golden fat with crispy giblets. Now what?? We have to strain it out. This is how we end up with that snow white tallow. What I done was strain my tallow right into the jar I was going to use. You do not have to do that, you can strain into a bowl and then ladle into your jars. But if I can skip steps and still do it right most of the time I do.
You can use any kind of glass jar you have. Mason jars are perfect, but we are not canning this so anything glass will do. I actually used a old glass mayonnaise jar.
You will need a funnel, a metal funnel would be best. Since our tallow should still be warm, you don’t want to pour hot fat on a plastic funnel. I put my funnel in my jar, then I put a small mesh strainer in my funnel. After that I put a folded paper towel in my mesh strainer. If you don’t have a small mesh strainer. That would be fine, just be careful that your paper towel doesn’t fall in your jar.
Then start to ladle your warm tallow into your jars. This may take a few minutes for the tallow to run through your paper towel. But this is what cleans all the small giblets out of your tallow. You want this to be as clean as possible. The cleaner the tallow the longer it will last. Also if you use the tallow in cooking/ baking you don’t wont to get a small burnt giblet in your pie crust.
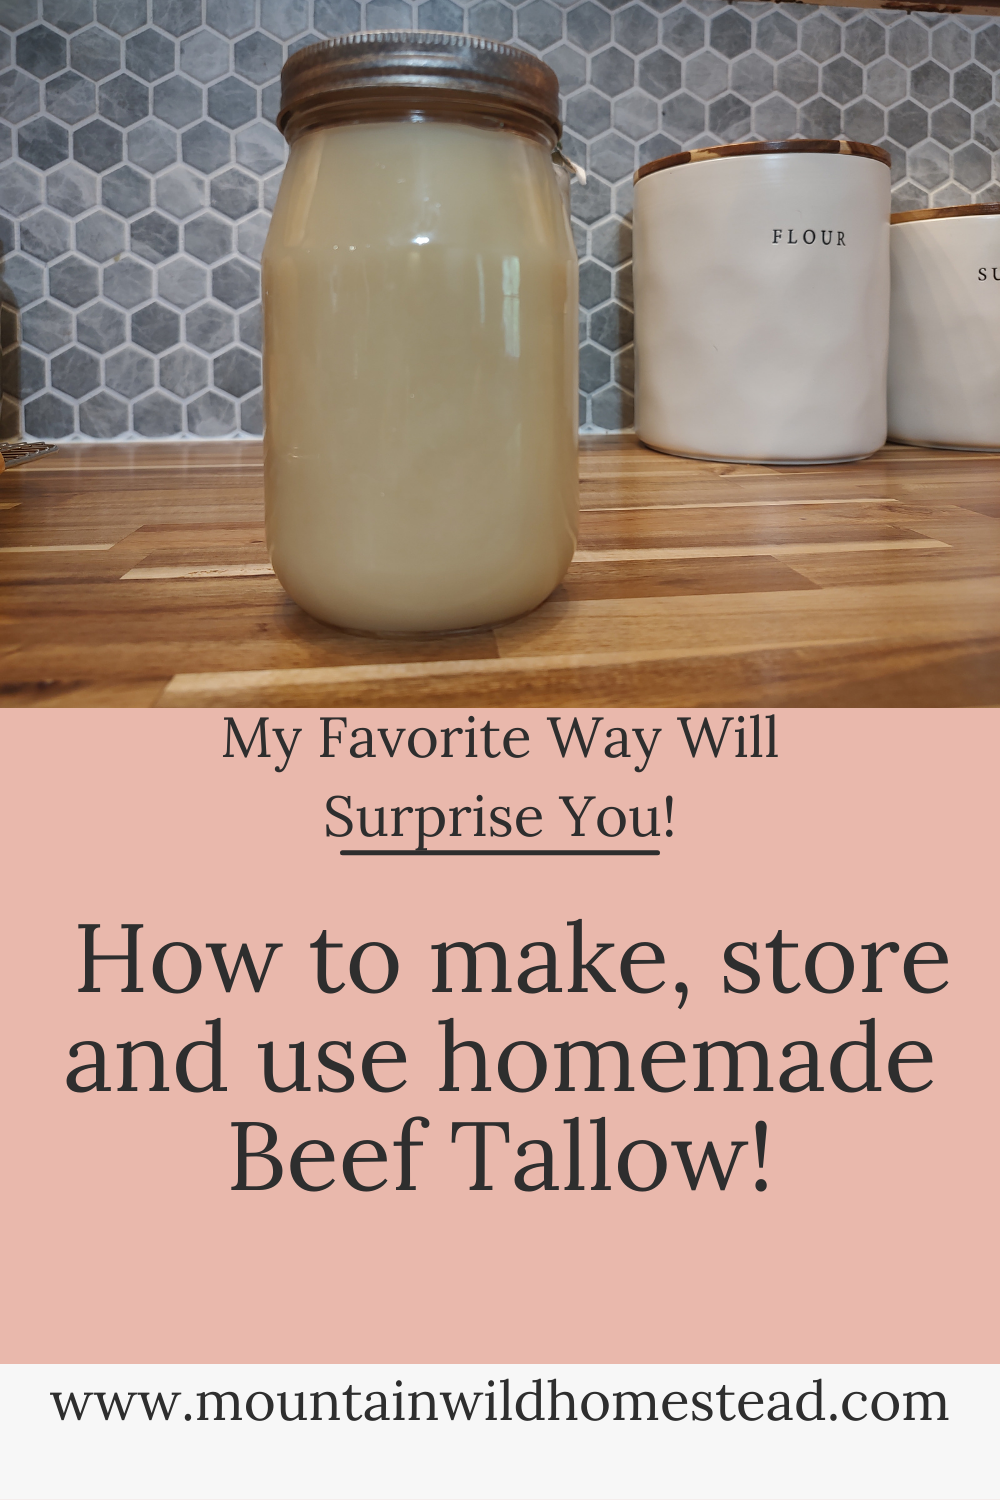
After you have all your tallow strained and into your glass jars your done! Just let them cool until room temperature. You can store them in the refrigerator for 12 to 18 months or 2 years in the freezer. I use ours pretty often so I keep one jar on the counter and the rest in the refrigerator.
So now how do you use this beautiful stuff? Well I use it for everything! I use it to fry veggies like potatoes or breaded squash. We eat a lot of venison on our homestead. Venison is a very lean meat, which sometimes I want it lean. But other times if I am making a Venison burger I will add beef tallow to it. Beef tallow is also great for baking! You would use it in any place you normally would use lard. Its great for biscuits, pie crusts or even corn bread.
You wanna know my above all favorite way though!! I love to use it as a FACIAL moisturizer!! Yes you read that right! I slather my face with beef tallow every night before bed. My sweet husband says I smell like a ribeye but that’s fine with me.
I wont get into the scientific reasons why tallow is good for your skin because i’m not a scientist. What I do know is tallow is the same type of oil your face already produces. My skin is pretty sensitive and my face would break out with any moisturizer! I mean really I had stopped using moisturizer altogether.
After I read beef tallow was not only good for your skin but could help treat and clear up acne. I thought I should try this! I was so scared to put oil on my face. I break out so easily and we have always been told oil caused break outs. But I desperately wanted this to work.
So the first night I used the smallest amount of tallow. I mean it was half the size of a pea, just enough to cover my face. The next morning I really thought my skin looked better. Then over the next few days it just got better and better. Now months later my skin is clear, moisturized and I slather myself in tallow every night!!! I don’t mind one bit that I smell like a juicy ribeye!
Comments
One response to “Homemade Beef Tallow. How to make, store and use!”
Love this! I just read it to my husband and he giggled at a few remarks. Might have to try it on my skin. I will let you know!